This week was not as exciting as last week, but at the same time, it was. What I mean by that is this week we had a hands on experience of what a forensic archaeologist comes to the crime scene. The first thing we did was lean how a crime scene is mapped. When you think of a map, you think of cities, towns, streets, but the map we were taught about was an evidence map. And we were not taught how to read it, but how to make it (thus hands on). What a forensic archaeologist has to do first is establish a baseline and which end the evidence is going to be measured against (more on this shortly). A baseline is either a long measuring tape or even a piece of rope would do. They place this baseline in the middle of the evidence. For what they do next they do need a measuring tape this time. The reason for this is because they need to measure how far away the evidence is from the baseline. They take two measurements; first how far away the evidence is from the baseline (and making sure to keep a ninety degree angle for these to get an accurate reading), and second how far away the evidence is from the end which they decided to measure against it.
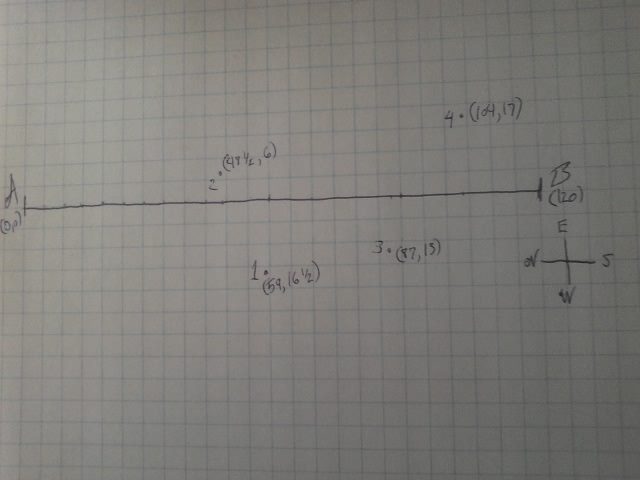
Now the start of making the map they need to write down the information. They start with recording the measurements and labeling them as evidence 1, 2, and so on. What they do next is to give direction of which of the 4 directions (north, south, east, west) the evidence is from the base line. After all this is done, they draw their baseline on a piece of graph paper keeping in mind what each block would be measuring (5s, 10, and so on). They then begin to use the information they just gathered to create an accurate map of what was found. An example is below.
Now the start of making the map they need to write down the information. They start with recording the measurements and labeling them as evidence 1, 2, and so on. What they do next is to give direction of which of the 4 directions (north, south, east, west) the evidence is from the base line. After all this is done, they draw their baseline on a piece of graph paper keeping in mind what each block would be measuring (5s, 10, and so on). They then begin to use the information they just gathered to create an accurate map of what was found. An example is below.
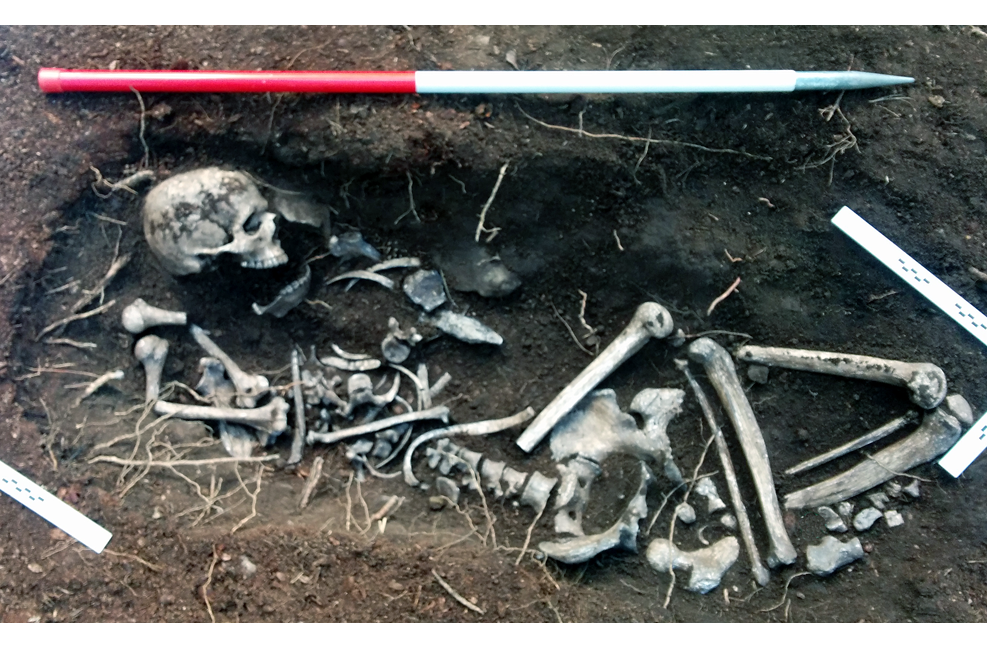
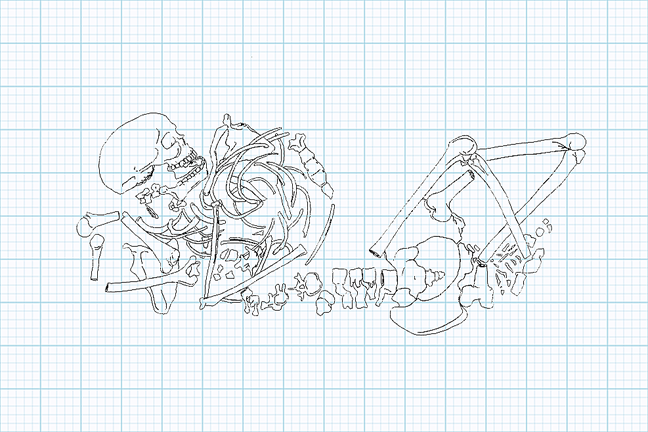
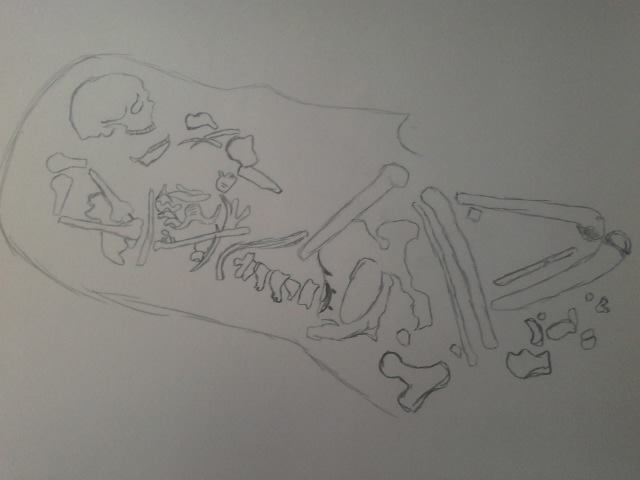
After doing this we were able to see the body; well, what was left of it. What the forensic archaeologist has to do next, as did we, is to “draw a scaled diagram of the final view of the remains prior to their recovery.” I must say, it was stressful trying my best to draw the bones to scale. What is more is they were cut, so the heads of the long bones were everywhere. As I went to the next section I saw the forensic archaeologist's rendition of the grave. I saw that there were bones I did not see in the photograph of the body, but below the drawing I saw, “Drawings and photographs of the grave are included in the primary record to give scale and clarity of detail that may be not be represented or visible in photographs alone.” So by the looks of it forensic archaeologists also have to take physical anthropology and be familiar with the bones. Below I have posted the photograph of the body, the forensic archaeologists rendition, then what I did.
Next week we are off to the morgue. I hope you enjoyed this blog entry, and you can give a try to mapping your own scene. If you have an idea that you would like me to speak of, please do not hesitate to comment.


 RSS Feed
